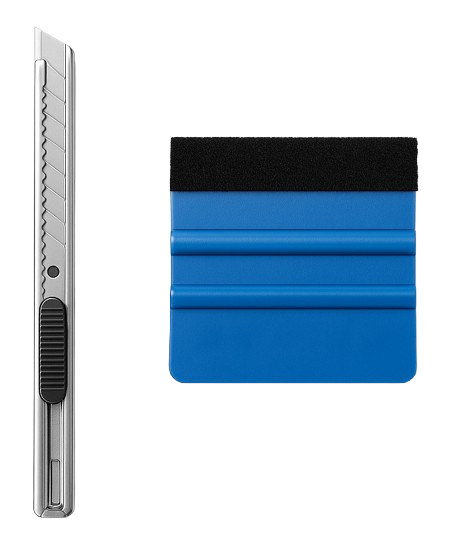
$11.99 +gst
Contains:
Installing your DIY Frosting is simple—and we’ll show you exactly how. In this short step-by-step video, you’ll learn how to prep your surface, apply the frosting film, smooth out bubbles, and trim the edges for a clean, professional finish. Whether you’re a seasoned DIYer or a first-timer, this guide will give you the confidence to get it done right.
Whether you’re wondering how to measure your windows or what to expect during installation, our FAQs are here to make your DIY Frosting experience as smooth as possible.
How do I measure my window accurately?
To measure your window accurately, follow these simple steps:
We recommend adding a little extra to your measurements (we automatically add 25mm) so you can trim the film perfectly to size during application. If you prefer the film to be cut to the exact size you enter, just leave a note on the checkout page when ordering.
Is the frosting film removable or permanent?
Our frosting film uses a permanent adhesive, but it can still be removed if needed.
To remove, apply heat using a hairdryer or heat gun to soften the adhesive, gently lift a corner and peel it off. You may need a scraper and some soapy water to remove any leftover adhesive residue from the glass.
Can I install the frosting on any type of glass?
Our frosting film is suitable for most types of smooth, flat glass – including standard windows, doors, and internal glass panels. However we do not recommend installing it on textured, frosted, or patterned glass, as the film may not adhere properly.
If you are unsure about your glass type, feel free to send us a photo before ordering – we’re happy to help.
Is the frosting film waterproof and durable?
Yes, our frosting film is water-resistant and durable, making it suitable for areas like bathrooms, kitchens, and offices. It can handle moisture and steam, but it’s not designed to be in contact with water – so we don’t recommend using it where it will be constantly wet (e.g. inside showers or directly exposed to running water).
With proper care, it will last for many years without peeling or fading.
Do you offer custom shapes or cutouts?
At this stage, we only offer rectangular and square cuts based on the measurements you provide. We don’t currently offer custom shapes or designs with cutouts. However, if you have a specific project in mind, feel free to get in touch – we’re happy to see if we can help or offer a workaround.
What happens if I make a mistake during installation?
If you make a mistake during installation, don’t worry – you may be able to carefully lift the film and reposition it using more soapy water. Since the film uses a permanent adhesive, this works best before it fully bonds to the glass.
If you get small creases or bubbles during installation, you can simply apply heat using a hairdryer to help smooth them out.
THE PROCESS IS SIMPLE SO YOU CAN DO IT YOURSELF
Measure Your Window Sizes
Measure your glass panels and enter the dimensions when ordering your frosting from our website. Click here to get started.
Order and Get It Delivered
Once you’ve customized your order, we’ll deliver the window frosting film right to your door, ready for installation.
Install With Ease
With our easy-to-follow instructions, you’ll be able to apply your DIY frosting film in no time. No mess, no fuss — just clear, professional results.
Product images are for illustrative purposes only. Actual results may vary. Installation instructions provided are general guidelines-please measure carefully and follow directions for best results. DIY Frosting is not liable for damage caused by improper installation.